INTERNATIONAL CO.,LTD.")

Replacing a flush mount LED ceiling light might seem like a complicated task.
However, with the right tools, some basic knowledge, and a bit of patience, you can easily replace the old fixture.
You can then brighten up your space with a new, energy-efficient LED light.
In this guide, we will walk you through the process.
The process involves replacing a flush mount LED ceiling light in a way that is easy to understand.
It is also designed to be practical.
Why Choose LED Lights?
Before we dive into the steps, let’s take a moment to discuss why LED ceiling lights are a great choice.
Unlike traditional incandescent or fluorescent lights, LED lights are energy-efficient.
They are long-lasting.
They provide bright, even illumination.
They are a perfect solution for any modern home or office.
They offer excellent lighting while reducing energy costs.
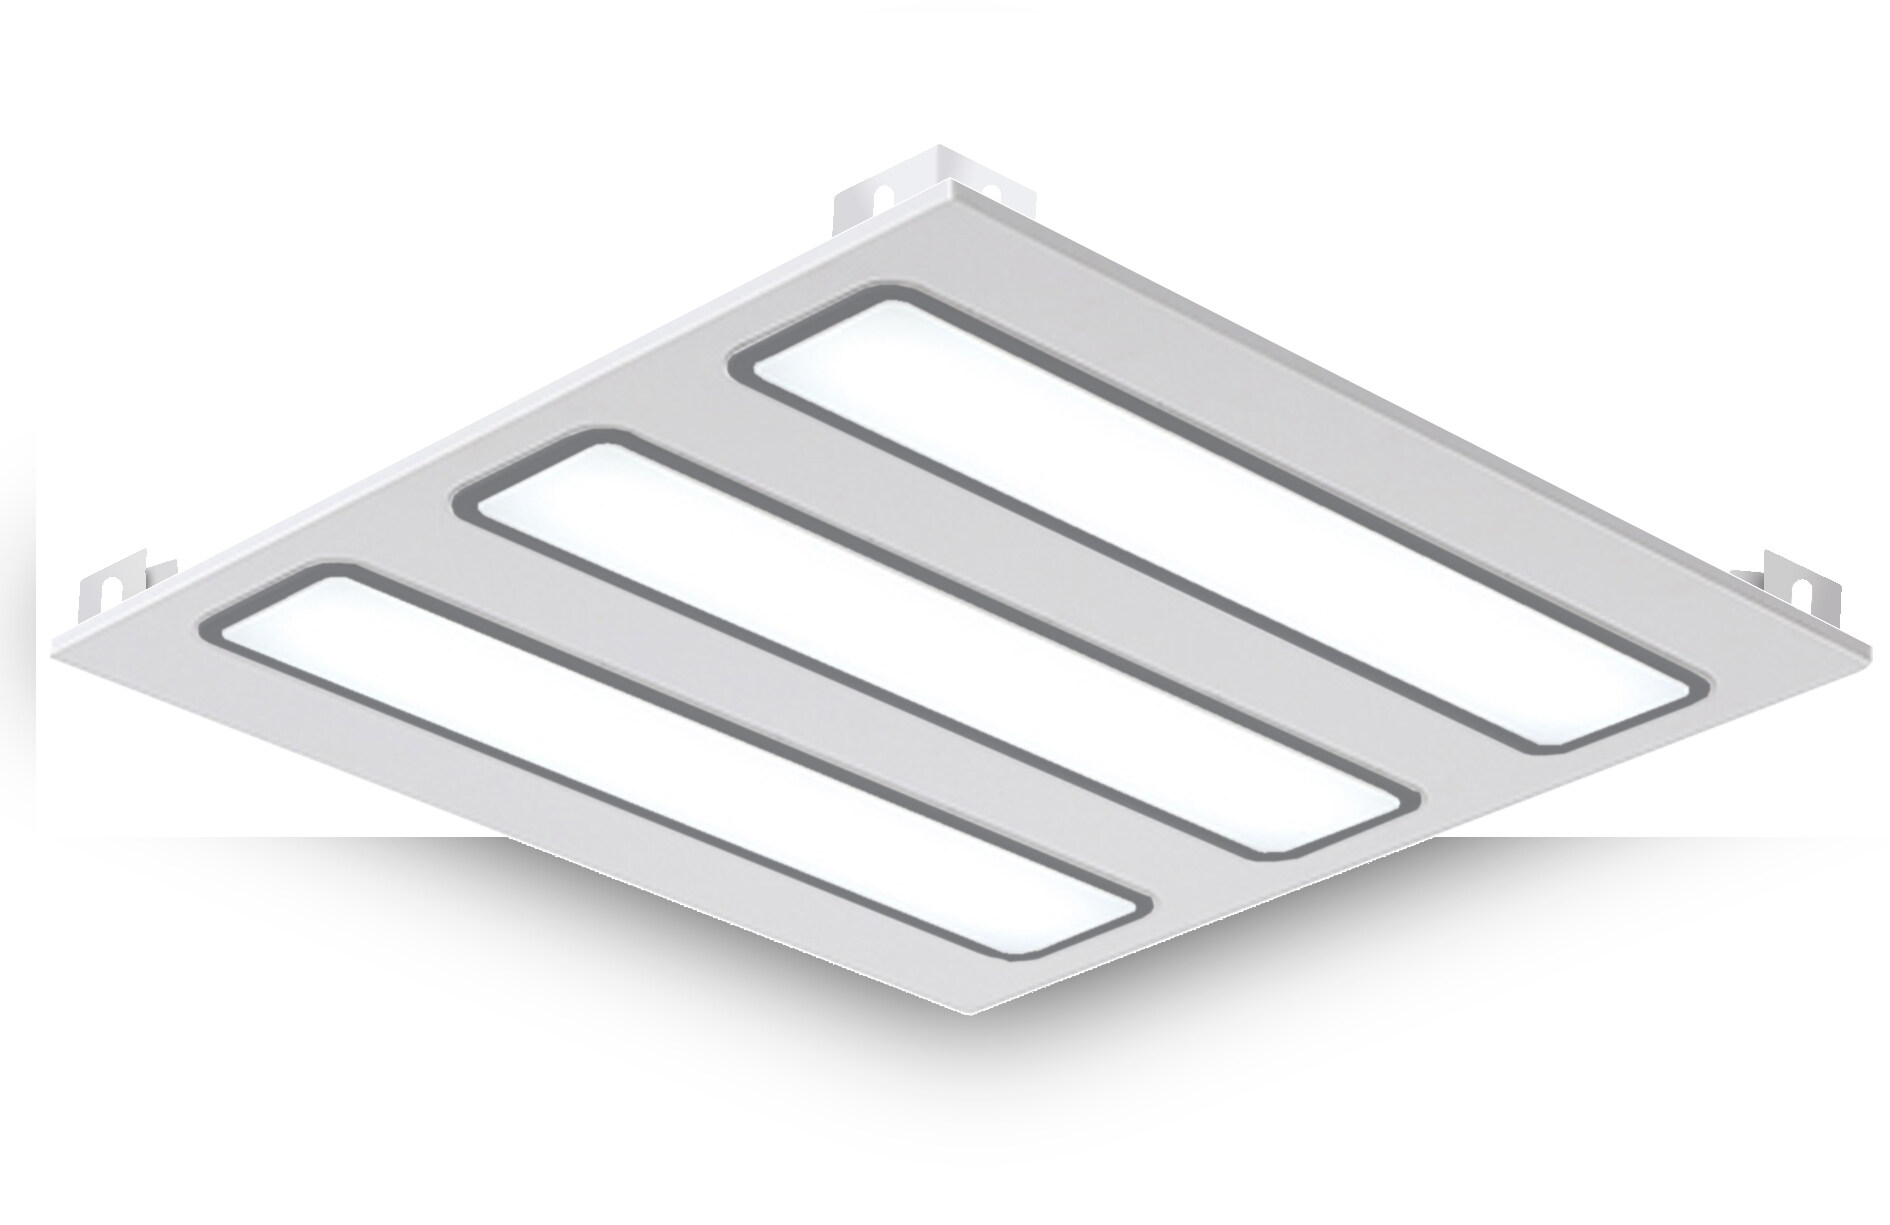
One of the most popular options for ceiling lighting is the flush mount LED fixture.
These lights sit close to the ceiling.
This makes them ideal for rooms with low ceilings.
They are also ideal for spaces where you don’t want hanging fixtures.
Now, let’s get into the step-by-step process.
The process covers replacing a flush mount LED ceiling light.
Step 1: Gather the Necessary Tools
Before you begin replacing the light fixture, it’s important to make sure you have all the necessary tools.
Here’s what you’ll need:
A screwdriver (Phillips or flathead, depending on the screws).
A voltage tester.
A ladder (if the ceiling is high).
A new LED flush mount ceiling light fixture.
Wire nuts (if needed).
Electrical tape (optional, for extra safety).
A flashlight (if working in a dimly lit area).
Having the right tools will make the process smoother.
It will also make the process safer.
You don’t want to be running around looking for tools halfway through the job.
Step 2: Turn Off the Power
The most important rule when working with electrical fixtures is to ensure the power is off.
Before you begin, go to your circuit breaker.
Turn off the power to the room or area where you’re replacing the light.
If you’re unsure which breaker controls the light, it’s best to turn off the main power supply.
This avoids any potential accidents.
Once you’ve turned off the power, double-check the switch.
Make sure the light is off.
Then, use a voltage tester to ensure there is no electrical current.
The current could be running through the wires.
Safety first!
Step 3: Remove the Old Flush Mount Light
Now that the power is off, it’s time to remove the old light fixture.
Here’s how:
Locate the screws.
Most flush mount LED ceiling lights are held in place by screws around the base.
Depending on the model, the screws may be visible.
Alternatively, they may be hidden behind a decorative cover.
Unscrew the base.
Use your screwdriver to remove the screws.
Gently pull the fixture away from the ceiling.
Be careful not to damage the ceiling.
Also, avoid damaging the wiring behind the light.
Disconnect the wiring.
Once the fixture is detached, you will need to disconnect the wires.
Typically, the fixture has a black (hot) wire.
It also has a white (neutral) wire.
Additionally, there is a green or bare (ground) wire.
Use a screwdriver to loosen the wire nuts.
These connect the wires.
Carefully separate them.
Remove the old fixture.
Once the wires are disconnected, you can fully remove the old light fixture.
Keep in mind that older fixtures may be heavy.
Therefore, use caution when handling them.
Step 4: Prepare the New LED Light Fixture
Now that the old light is removed, prepare the new LED flush mount fixture.
Most LED ceiling lights come with a mounting bracket or plate.
This attaches to the ceiling.
Check the new fixture.
Before installing, ensure it is the correct size.
Also, confirm it is the correct model for your space.
Measure the diameter.
Check that the light will fit snugly in the old light’s spot.
Attach the mounting bracket.
If your new LED light comes with a mounting bracket, use the provided screws.
Attach the bracket to the electrical box in the ceiling.
Make sure the bracket is securely attached.
This will hold the light in place.
Prepare the wiring.
If your new fixture requires new wiring, strip the ends of the wires.
This exposes the copper.
If you’re reusing existing wiring, ensure it is in good condition.
Check that it is free of wear or damage.
Step 5: Connect the Wires
With the mounting bracket in place and the wires ready, connect the new LED light fixture.
Match the wires.
Typically, the black (hot) wire from the ceiling connects to the black wire of the fixture.
The white (neutral) wire from the ceiling connects to the white wire of the fixture.
The green or bare (ground) wire from the ceiling connects to the green or bare wire of the fixture.
Secure the wires with wire nuts.
Twist the wires together.
Secure them with wire nuts.
If necessary, use electrical tape.
This reinforces the connection.
It also prevents exposed wires from contacting other surfaces.
Double-check the connections.
It’s always a good idea to double-check before proceeding.
Ensure all wires are tightly secured.
Confirm there is no chance of them coming loose.
Step 6: Mount the New LED Fixture
Now that the wiring is in place, mount the new LED flush mount light fixture.
Attach the fixture.
Lift the new fixture up to the ceiling.
Align it with the mounting bracket.
Secure the fixture using the screws from the installation kit.
Tighten the screws evenly.
This ensures the fixture is securely attached.
Check for stability.
Gently tug on the fixture.
Make sure it is stable and securely mounted.
If it feels loose, check the screws again.
Tighten them as needed.
Step 7: Test the New Light Fixture
With the fixture securely mounted, turn the power back on.
Go to the circuit breaker.
Restore power to the room.
Once the power is on, flip the light switch.
Test the new fixture.
If everything is connected correctly, the light should illuminate immediately.
If it doesn’t turn on, double-check the wiring.
Ensure the connections are secure.
A loose connection or faulty wire could be the issue.
Step 8: Enjoy Your New LED Ceiling Light
Congratulations!
You’ve successfully replaced your old flush mount LED ceiling light.
Your brand-new, energy-efficient LED fixture is now installed.
Enjoy the bright, clean light it provides.
Whether in the living room, kitchen, or bedroom, your space is now better lit.
It is also more energy-efficient than ever before.
Tips for a Successful Light Fixture Replacement
Safety first: Always ensure the power is turned off.
Do this before working with electrical fixtures.
Use a helper: If the fixture is large or heavy, an extra pair of hands helps.
Check the wiring: If uncertain, consult a professional electrician.
Choose the right size and style: Match the new LED fixture to your space’s size and aesthetic.
Final Thoughts
Replacing a flush mount LED ceiling light is a straightforward project.
It can be completed in just a few simple steps.
By following this guide and taking precautions, you can replace your old fixture.
You’ll enjoy the benefits of a bright, energy-efficient LED light.
Whether upgrading your home’s lighting or replacing a broken fixture, this DIY project is achievable.
If you’re a manufacturer or supplier, consider offering LED flush mount ceiling lights.
They are high-quality and energy-efficient.
Such products can enhance your range.
The demand for LED lighting continues to grow.
More people are embracing energy-saving technologies.
Providing clear installation guides helps customers feel confident.
It also creates positive experiences with your products.
Now that you know how to replace a flush mount LED ceiling light, get started!
Begin your own lighting upgrade today!
Email format error
Email cannot be empty
Email already exists
6-20 characters(letters plus numbers only)
The password is inconsistent
Email format error
Email cannot be empty
Email does not exist
6-20 characters(letters plus numbers only)
The password is inconsistent
