INTERNATIONAL CO.,LTD.")

Introduction:
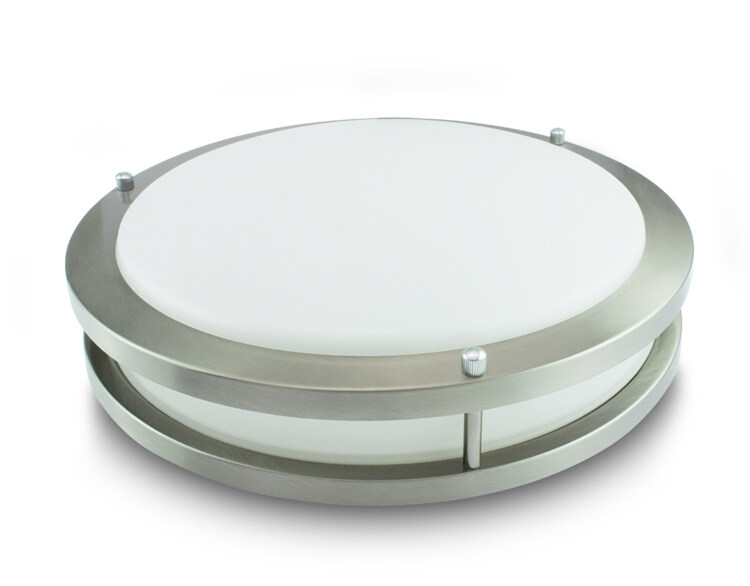
In the dynamic landscape of contemporary home lighting, LED flush-mount ceiling lights emerge as beacons of both style and energy efficiency. This in-depth guide seeks to empower you with nuanced insights, ensuring proficiency in the intricate processes of how to remove LED flush mount ceiling light, how to install LED flush mount ceiling light, and how to replace a flush mount LED ceiling light.
How to Remove LED Flush Mount Ceiling Light:
Prioritizing safety is paramount in any electrical venture. Begin by turning off the power to the fixture at the circuit breaker, rigorously confirmed with a reliable voltage tester. Gently loosen the screws and remove the cover, unveiling the intricate wiring connections. Disconnect these connections with care, using wire nuts to temporarily secure the exposed wires. Navigate the removal process diligently by unscrewing and detaching the fixture from its mount, exercising caution to preserve the integrity of the ceiling. This meticulous approach ensures a secure and damage-free removal process.
How to Install LED Flush Mount Ceiling Light:
Beyond the fixture itself, assembling the necessary tools and materials requires thoughtful consideration. A stable ladder, a voltage tester for safety verification, and an extra set of hands can prove invaluable. Positioning the new fixture involves aligning it precisely with the existing mount, considering both aesthetics and optimal lighting distribution. When connecting the wiring, employ wire nuts for secure connections, and neatly tuck away any excess wire. Secure the fixture in place, ensuring it sits flush against the ceiling, and attach the cover with the provided screws for a polished finish. This comprehensive installation process guarantees not just functionality but also an aesthetically pleasing lighting arrangement.
How to Replace a Flush Mount LED Ceiling Light:
Recognition of the need for replacement often arises from outdated or malfunctioning fixtures. Before commencing the replacement, carefully select a new LED flush-mount ceiling light that harmonizes with your space. Turn off the power at the circuit breaker, meticulously remove the existing fixture, and document the wiring connections for reference. Install the new LED flush mount light following the same meticulous steps outlined in the installation guide. Upon completion, restore power and test the new fixture to guarantee its proper functionality. This detailed replacement process ensures a seamless transition to an upgraded lighting solution.
Conclusion:
In summary, mastering the processes of how to remove LED flush mount ceiling light, how to install LED flush mount ceiling light, and how to replace a flush mount LED ceiling light requires not just proficiency but an appreciation for the finer details. By prioritizing safety measures, assembling the right tools, and executing each step meticulously, homeowners can confidently elevate their living spaces with the transformative allure of modern LED flush-mount ceiling lights. Whether you embark on this journey as a DIY enthusiast or seek professional assistance, this guide serves as a detailed roadmap, ensuring your home is bathed in efficient and stylish illumination that seamlessly marries functionality and aesthetics. Illuminate your living spaces with both precision and panache, embracing the artistry of modern lighting solutions.
Email format error
Email cannot be empty
Email already exists
6-20 characters(letters plus numbers only)
The password is inconsistent
Email format error
Email cannot be empty
Email does not exist
6-20 characters(letters plus numbers only)
The password is inconsistent
